
Table Of Contents
- Installing the Virtual Machine
- How to use Poky
- How to customize u-boot
- How to customize the Linux Kernel
- How to create the SD card
- How to write the NAND memory
- How to use HOB
- How to configure the remote boot
- How to write a software application for the Pengwyn board
- Qt SDK
- Hardware
- Opkg Basics
- How to add 3”5 display with touch screen
How to write a software application for the Pengwyn board
Hereafter, the operating system that runs the IDE/debugger will be named host machine, and the board being debugged will be named target machine. The host machine could be running as a virtual machine guest operating system, anyway, the documentation for the host machine running as a guest operating system and as host operating system is exactly the same.
Pay attention before to start writing your application you need:
- a filesystem (you can use bitbake/hob to build your preferred filesystem) with develop support (that is, it must include all the necessary header files, the tcf-agent program and gdbserver)
- an SD card already partitioned, with the bootloader in the FAT partition, and
- a network connect between the host machine and the target machine.
Creating the Project
You can create two types of projects: Autotools-based, or Makefile-based. This section describes how to create Autotools-based projects from within the Eclipse IDE. Launch Eclipse using Architech Launcher or use run_eclipse command or just click on the desktop icon.

To create a project based on a Yocto template and then display the source code, follow these steps:
- Select File→New→Project...
- Under C/C++, double click on C Project to create the project.
- Expand Yocto ADT Project.
- Select Hello World ANSI C Autotools Project. This is an Autotools-based project based on a Yocto Project template.
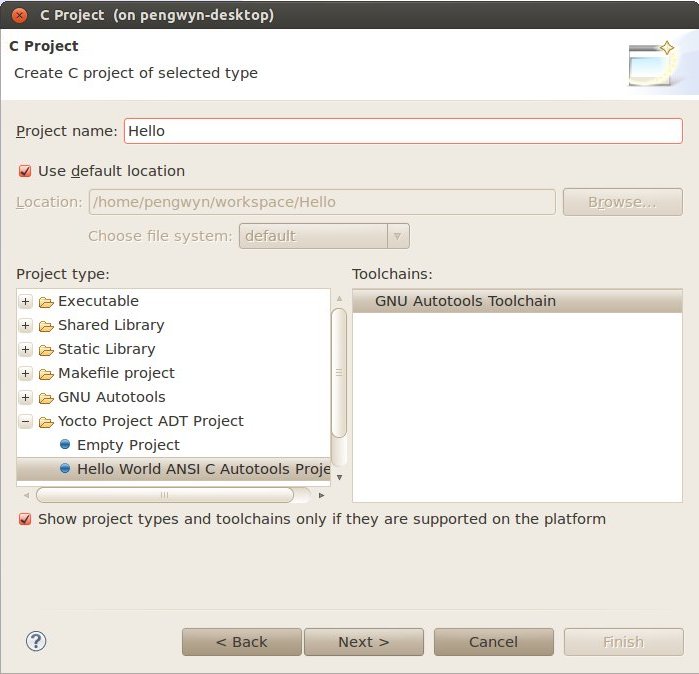
- Put a name in the Project name: field. Do not use hyphens as part of the name.
- Click Next.
- Add information in the Author and Copyright notice fields.
- Be sure the License field is correct.
- Click Finish.
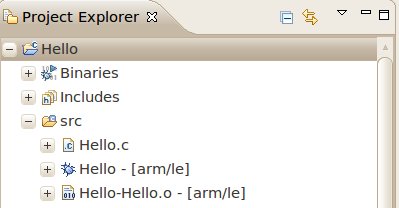
Note: If the “open perspective” prompt appears, click Yes so that you enter in the C/C++ perspective. The left-hand navigation pane shows your project. You can display your source by double clicking the project’s source file.
Building the Project
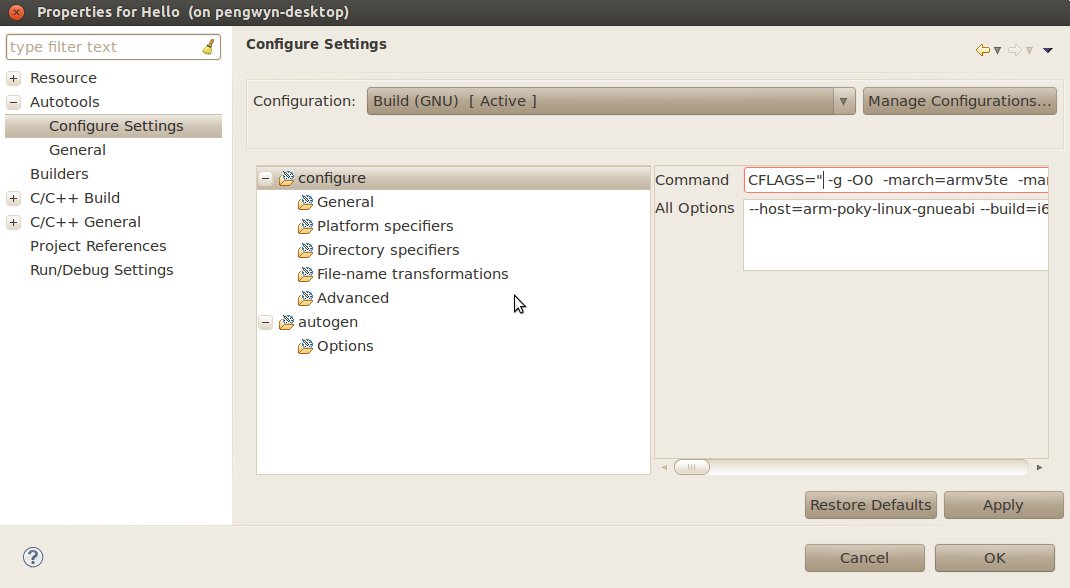
To build the project, select Project→Build Project. The console should update with messages from the cross-compiler. To add more libraries to compile:
- Click on Project→Properties.
- Expand the box next to Autotools.
- Select Configure Settings.
- In CFLAGS field, you can add the path of includes with -Ipath_include
- In LDFLAGS field, you can specify the libraries you use with -lname_library and you can also specify the path where to look for libraries with -Lpath_library
Note: All libraries are located in ~/yocto/remote/nfs-eclipse-rootfs subdirectories.
Deploying and Debugging the Application
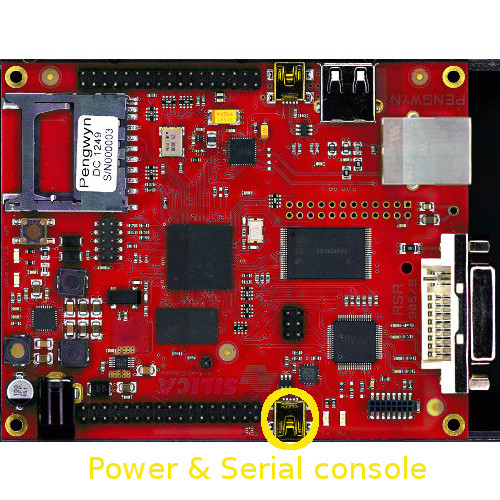
Connect the Pengwyn board to the PC by means of a usb cable to power the board and to have the serial console
Once you built the project and the board is running the image, use minicom (refer to section Usb-Serial to know how to configure minicom) to run tcf-agent program in target board:
Yocto (Built by Poky 7.0.1) 1.2.1
 ttyO0

pengwyn login: root
root@pengwyn:~# /etc/init.d/tcf-agent restart
On the Host machine, follow these steps to let Eclipse deploy and debug your application:
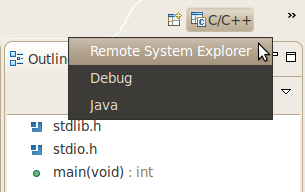
- Select Remote System Explorer perspective.
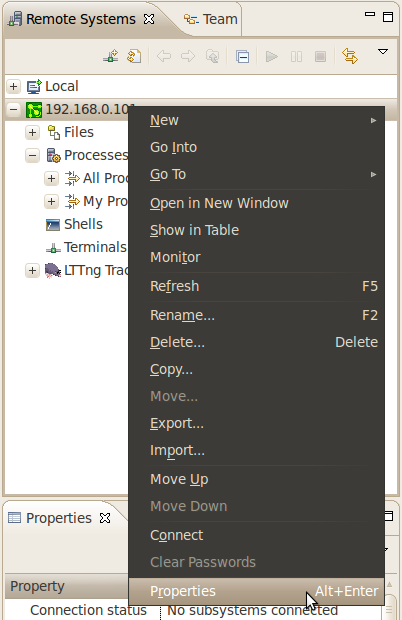
- In Remote System area right-click TCF icon and select Property.
- In Host tab, insert in Host Name and Connection Name fields the IP address of the target board. (e.g. 192.168.0.101)
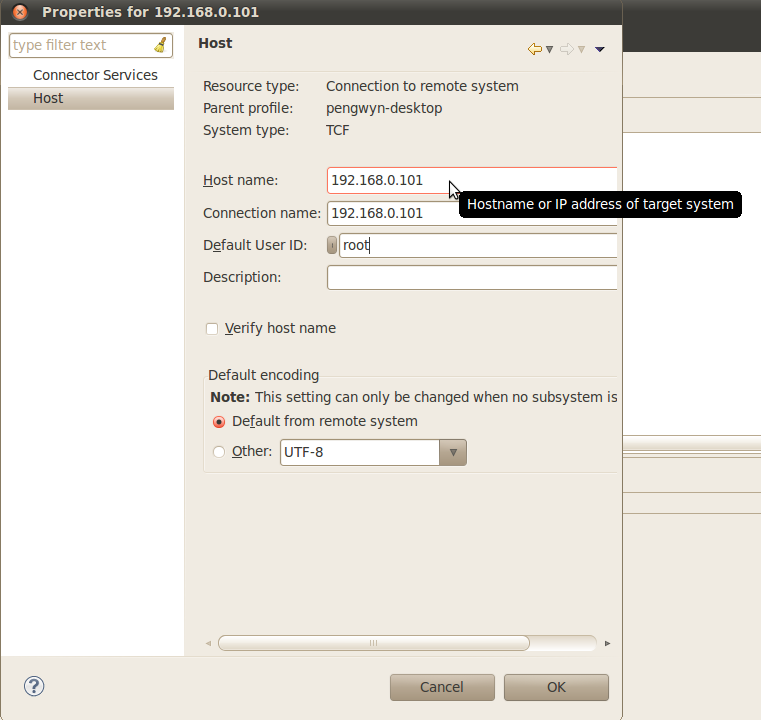
- Then press OK.
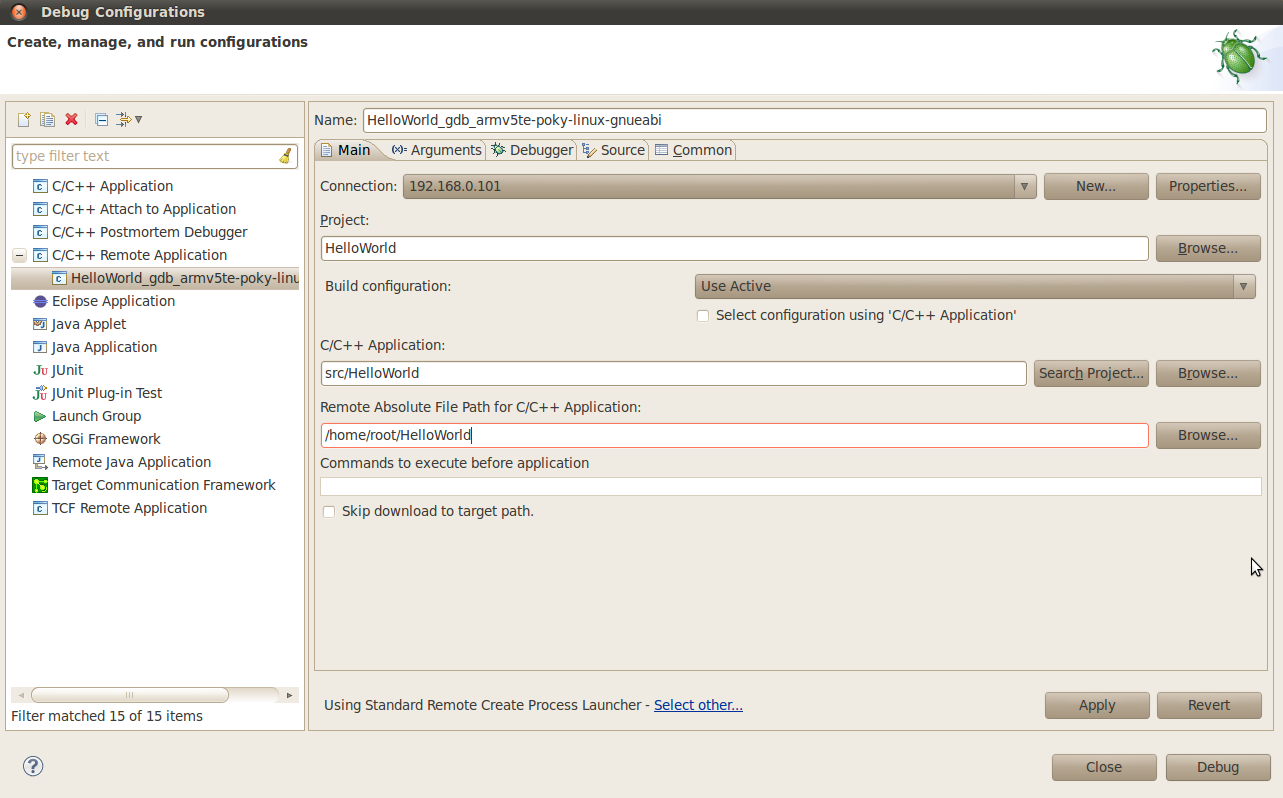
- Select Run→Debug Configurations...
- In the left area, expand C/C++Remote Application.
- Locate your project and select it to bring up a new tabbed view in the Debug Configurations Dialog.
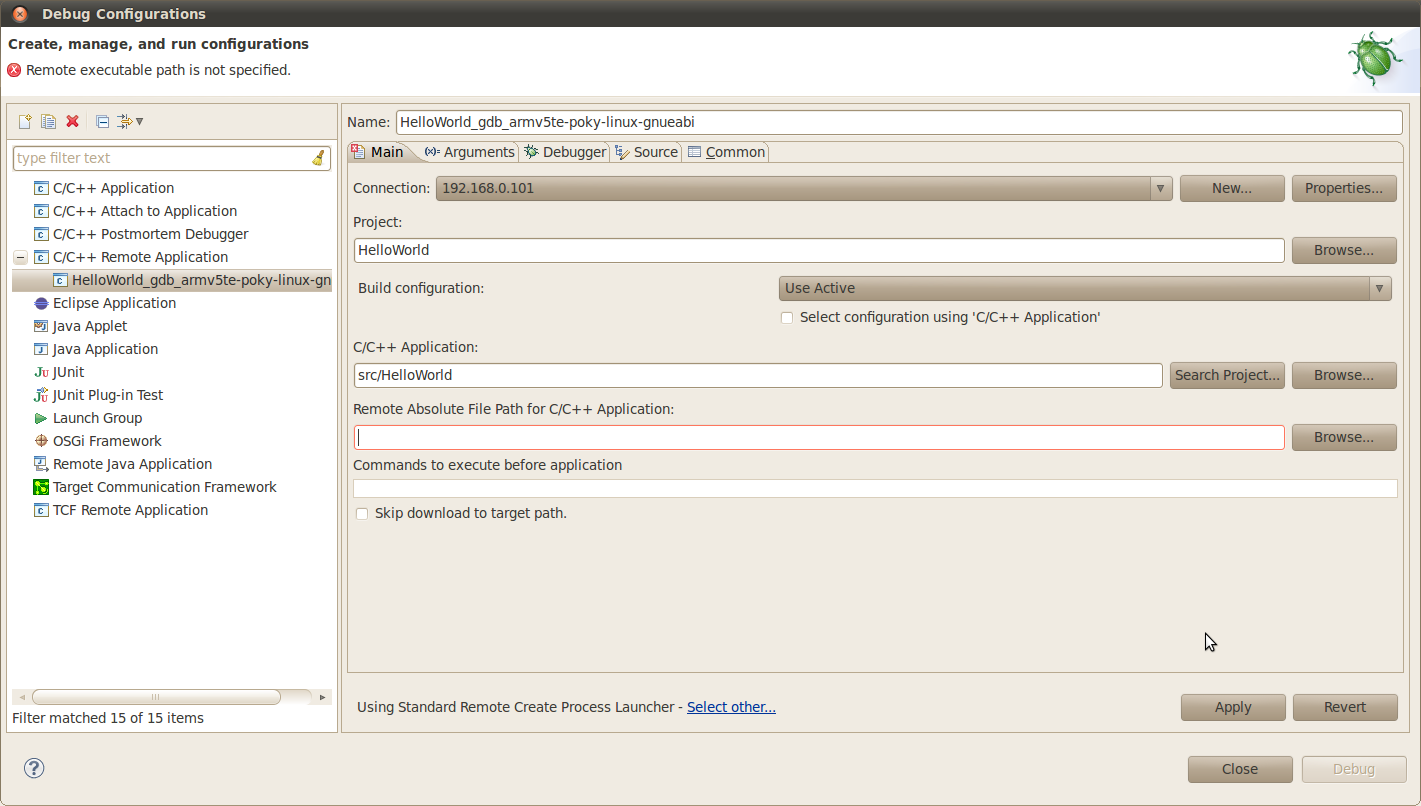
- Use the drop-down menu now in the Connection field and pick the IP Address you entered earlier.
- Enter the absolute path on the target into which you want to deploy the application. Use the Browse button near Remote Absolute File Path for C/C++Application: field. No password is needed.
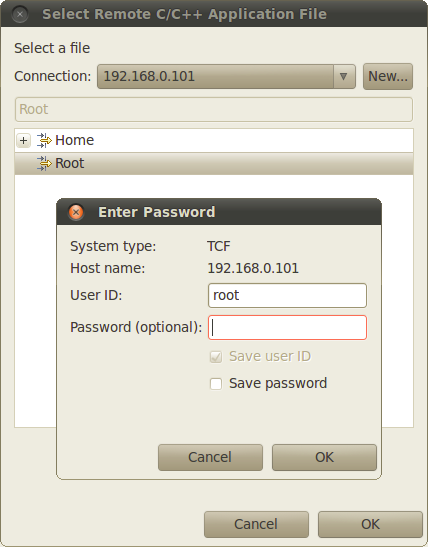
- Enter also in the path the name of the application you want to build. (e.g. HelloWorld)
- Click Debug to bring up a login screen and login.
- Accept the debug perspective.
Important
If debug does not works, check if tcf-agent is running on the board and gdbserver is present.